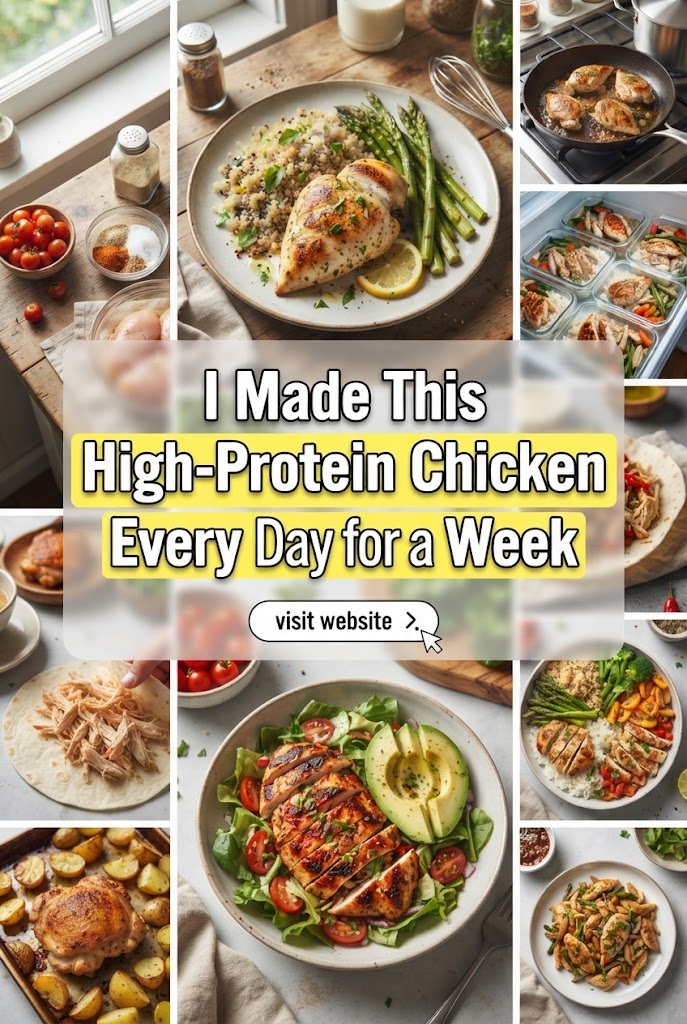
I Made This High-Protein Chicken Every Day for a Week: My Honest Review, The Secret Marinade, and The Complete Guide
Transforming plain chicken breasts from a dry, boring chore into the absolute highlight of your daily routine is entirely possible. Here is what happened when I ate this exact high-protein chicken recipe every single day for seven days straight—along with the complete blueprint so you can do it too.
Introduction: The Great Chicken Dilemma
Let’s be honest with each other for a moment. If you have ever set foot on a fitness journey, embarked on a fat-loss phase, or simply tried to hit your daily protein macros, you have inevitably faced the dreaded Dry Chicken Breast Dilemma.
Week one of a new meal prep routine usually starts with high hopes. You buy bulk chicken breasts, toss them into a pan with some olive oil and generic salt-and-pepper seasoning, and bake them until they are vaguely edible. By day four, you are staring at a Tupperware container of rubbery, flavorless poultry, wondering why you are punishing yourself. You begin to question your life choices, dreaming of takeout burgers or heavily sauced wings just to taste something—anything—with flavor and moisture.
I reached that exact breaking point a few weeks ago. As someone who trains regularly and needs to hit a consistent daily protein intake of around 160 grams, chicken is a non-negotiable staple. Yet, I was thoroughly exhausted by the monotony of it all. I didn’t want to spend two hours every night cooking complex gourmet meals, nor did I want to choke down dry protein like it was medicine.
So, I decided to run an experiment. I set out to engineer one ultimate high-protein chicken recipe that checked every single box:
- Incredibly juicy and tender texture, every single time.
- Deep, savory flavor that doesn’t rely on heavy, calorie-laden creams or sugary bottled sauces.
- Lightning-fast prep and cook times (under 30 minutes total).
- Extreme versatility so it could be tossed into salads, stuffed into wraps, paired with rice, or eaten straight off a cutting board without feeling repetitive.
I committed to eating this chicken every single day for seven consecutive days. What happened next completely changed my relationship with meal prep, saved me hours of kitchen fatigue, and left me feeling more energized than ever.
Below is the full breakdown of my week-long experiment, why this specific recipe works on a biochemical level, and the exact step-by-step master recipe and ingredient form so you can replicate it in your own kitchen tonight.
The 7-Day Experiment: What Actually Happens When You Eat High-Protein Chicken Daily?
Embarking on a week-long daily chicken challenge sounds like a recipe for palate fatigue, but this experiment turned out to be an eye-opener. Here is a breakdown of what I experienced physically, logistically, and culinary-wise over the seven days.
Days 1 to 2: The Sensation of Real Moisture
The biggest shocker hit me on Day 1. Because of the specific prep technique I developed (which you’ll see in the recipe below), the chicken retained an incredible amount of moisture. Usually, reheated meal-prep chicken tastes like cardboard. Day 2 lunch—eaten cold straight out of the fridge sliced over a bed of greens—was remarkably tender. There was no stringiness, no dry choking hazard, and no need to drown it in ranch dressing.
Days 3 to 4: The Convenience Factor and Macro Magic
By midweek, the logistical benefits became glaringly obvious. Because the flavor profile is savory, umami-rich, and slightly acidic, it acts as a culinary chameleon.
- On Wednesday, I chopped it up into a quick burrito bowl with black beans and salsa.
- On Thursday, I rolled it into a high-fiber tortilla with crisp lettuce and a light Greek yogurt garlic sauce.
Hitting my protein target of 150g–170g per day felt effortless because the protein source itself was actually something I looked forward to eating. Furthermore, my recovery times in the gym felt noticeably sharper, and my afternoon sugar cravings plummeted thanks to the sustained satiety of lean animal protein.
Days 5 to 7: Zero Fatigue and Sustainable Habits
By the weekend, most meal preps fail because you are sick of the taste. Remarkably, because the marinade hits multiple taste receptors (salt, acid, umami, subtle spice), palate fatigue never set in. On Sunday night, as I wrapped up Day 7, I didn’t feel a sense of relief that the experiment was over; instead, I found myself automatically prepping another batch for the upcoming week.
The takeaway? Healthy eating fails not because we lack willpower, but because we lack flavor and technique. When healthy food tastes better than convenience food, consistency becomes effortless.
The Science of Juiciness: Why This Recipe Works
Before we dive into the kitchen, it helps to understand why standard chicken breasts dry out and how this recipe beats the physics of cooking lean meat.
Chicken breast is roughly 75% water and nearly 23% protein, with almost zero fat. When heat is applied to meat, the muscle fibers (myosin and actin) contract and tighten. As they squeeze together, they force the water out like a wrung-out sponge. Once the internal temperature climbs past 165°F (74°C), those proteins lock into a tight mesh, pushing out virtually all remaining moisture. This is why overcooked chicken is dry and tough.
To combat this, our master recipe employs three culinary science pillars:
- The Acid and Enzyme Tenderizer: A touch of acid (like fresh lemon juice or a splash of vinegar) helps gently break down surface connective tissues, allowing flavors to penetrate deeper.
- The Moisture Barrier (The Marinade Matrix): Oil and yogurt- or fat-based binders coat the exterior, sealing in natural juices and creating a gorgeous, caramelized crust during searing or baking without burning the meat.
- Controlled Temperature Management: Pulling the chicken off the heat right as it hits 160°F—allowing carryover cooking to finish the job to a safe 165°F—prevents the protein fibers from over-tightening.
The Complete Master Recipe & Ingredient Form
Preparation time: 10 minutes | Cook time: 15 minutes | Total time: 25 minutes | Servings: 4-5
Ingredient Form
| Category | Ingredient Name | Exact Measurement | Purpose / Notes |
| Protein | Boneless, Skinless Chicken Breasts | 1.5 lbs (approx. 3 large breasts) | Trimmed of excess fat; cut to even thickness |
| Fat / Binder | Extra Virgin Olive Oil or Avocado Oil | 2 tablespoons | Creates moisture barrier and aids browning |
| Acid / Tenderizer | Fresh Lemon Juice | 2 tablespoons | Brightens flavor and tenderizes surface fibers |
| Aromatics | Garlic Powder | 1.5 teaspoons | Deep savory foundation |
| Aromatics | Onion Powder | 1 teaspoon | Adds sweet, savory depth |
| Spices | Smoked Paprika | 1.5 teaspoons | Provides gorgeous color and rich smoky notes |
| Spices | Ground Cumin | 0.5 teaspoon | Earthy warmth |
| Herbaceous | Dried Oregano or Thyme | 1 teaspoon | Classic Mediterranean herbal note |
| Seasoning | Fine Sea Salt or Kosher Salt | 1.25 teaspoons | Enhances all underlying flavors |
| Seasoning | Black Pepper (Freshly Cracked) | 0.5 teaspoon | Gentle heat |
| Optional Kick | Cayenne Pepper or Red Pepper Flakes | 0.25 teaspoon (optional) | For those who enjoy a mild back-of-the-throat warmth |
Step-by-Step Instructions
Step 1: Prep and Uniformity (Crucial for Even Cooking)
- Pat Dry: Take your chicken breasts out of the package and use paper towels to pat them thoroughly dry. Removing surface moisture is essential for getting a great sear and letting the marinade cling to the meat.
- Even Out Thickness: Chicken breasts are naturally tapered—thick on one end and thin on the other. If you cook them as-is, the thin end will be overcooked and dry by the time the thick end reaches safety temperature. Place the breasts on a cutting board, cover them with plastic wrap, and use a meat mallet or a heavy skillet to gently pound the thick ends until the entire breast is a uniform thickness (about 3/4 inch).
- Optional (Portioning): You can leave them whole for meal prep, or cut them into uniform bite-sized cubes or strips if you prefer a quick pan-fry or stir-fry style.
Step 2: Mix the Magic Marinade
- In a medium mixing bowl, combine the extra virgin olive oil, fresh lemon juice, garlic powder, onion powder, smoked paprika, ground cumin, dried oregano, sea salt, black pepper, and cayenne pepper (if using).
- Whisk the ingredients vigorously with a fork or small whisk until the spices are fully emulsified into the oil and lemon juice, forming a smooth, aromatic paste.
Step 3: Coat and Marinate
- Add the prepared chicken breasts directly into the bowl with the marinade.
- Use your hands or tongs to massage the spice paste thoroughly into every nook and cranny of the chicken, ensuring 100% coverage.
- Marinating Time: While you can cook this immediately, letting it rest for at least 20 to 30 minutes at room temperature—or covering and placing it in the refrigerator for 2 to 24 hours—will supercharge the flavor penetration. (Pro tip: If meal prepping for the week, do this step right after grocery shopping, let it sit in the fridge, and cook it fresh on day one or two).
Step 4: Choose Your Cooking Method
You can cook this recipe using three different methods depending on your kitchen setup:
- Method A: The Cast-Iron Skillet Seer (Recommended for Maximum Juiciness & Crust)
- Place a heavy cast-iron skillet or stainless-steel pan over medium-high heat and add 1 teaspoon of cooking oil.
- Once the pan is hot and shimmering, carefully lay the chicken breasts into the skillet. You should hear an immediate, satisfying sizzle.
- Leave them completely undisturbed for 5 to 6 minutes to develop a deep, golden-brown crust.
- Flip the chicken, reduce the heat to medium, and cook for another 4 to 5 minutes, or until an instant-read meat thermometer inserted into the thickest part registers 160°F (71°C).
- Method B: The Oven Bake (Best for Hands-Off Meal Prep)
- Preheat your oven to 400°F (200°C).
- Line a baking sheet with parchment paper or light foil, and place the marinated chicken breasts in a single layer with space between each piece.
- Bake for 18 to 22 minutes (depending on thickness), checking internal temperature at the 18-minute mark. Remove when it hits 160°F.
- Method C: The Air Fryer (Fastest and Crispiness King)
- Preheat your air fryer to 380°F (193°C).
- Lightly spray the air fryer basket with cooking spray. Place chicken breasts in a single layer (do not overcrowd; cook in batches if necessary).
- Cook for 12 to 15 minutes, flipping halfway through at the 7-minute mark, until the internal temperature reaches 160°F.
Step 5: The Sacred Rest (Do Not Skip!)
- Transfer the cooked chicken from your pan, oven tray, or air fryer onto a clean cutting board or plate.
- Tent a piece of loose aluminum foil loosely over the top.
- Let it rest undisturbed for 5 to 7 minutes.
- Why this matters: Resting allows the internal muscle fibers to relax and re-absorb the delicious juices that were driven to the center by the heat. If you slice into the chicken immediately, all those juices will run out onto your cutting board, leaving your meal dry. Patience here is your reward for ultimate tenderness.
Nutritional Breakdown & Macros
For fitness enthusiasts and macro trackers, consistency requires precision. Below is the estimated nutritional breakdown per serving (assuming 1.5 lbs of chicken divided into 4 equal servings, cooked with olive oil):
- Calories: ~215 kcal
- Protein: ~38.5 g
- Total Fat: ~6.2 g
- Carbohydrates: ~1.8 g
- Dietary Fiber: ~0.4 g
- Sodium: Varies based on salt added (approx. 450mg)
Note: This clean, lean profile makes it an exceptional canvas whether you are in a caloric deficit for fat loss or fueling up for muscle hypertrophy.
5 Ways to Serve Your High-Protein Chicken All Week Long
To ensure you never get bored during a multi-day chicken streak, switch up your delivery mechanism. Here are five simple ways to use this exact recipe throughout your week:
- The Power Mediterranean Bowl: Slice the chicken over a base of cooked quinoa, crisp cucumbers, cherry tomatoes, kalamata olives, pickled red onions, and a dollop of garlic tzatziki or hummus.
- The Crisp Crunch Wrap: Dice the warm chicken and toss it into a high-fiber tortilla with shredded romaine lettuce, sliced avocado, Greek yogurt caesar dressing, and a handful of crunchy crushed tortilla chips.
- The Simple Green Protein Salad: Lay cold or warm sliced chicken over a massive bed of baby spinach and arugula, tossed with roasted pumpkin seeds, crumbled feta cheese, and a light lemon-herb vinaigrette.
- The Quick Stir-Fry Skillet: Chop the raw marinated chicken into bite-sized cubes before cooking, toss them into a hot wok with broccoli florets, snap peas, bell peppers, and a splash of low-sodium coconut aminos served over jasmine rice.
- The Post-Workout Protein Plate: Keep it classic and comforting—serve the whole breast alongside roasted sweet potato wedges and steamed asparagus drizzled with hot sauce.
Conclusion: Transform Your Kitchen Routine
Eating healthy doesn’t have to feel like an endurance test. By upgrading your spice matrix, mastering the art of thickness control, and respecting the golden rule of resting your meat, you can turn the humble chicken breast from a mundane dietary obligation into the culinary highlight of your day.
Give this 7-day experiment a try in your own kitchen. Start with a single batch tonight, follow the ingredient form and steps precisely, and see how much easier hitting your health and fitness goals becomes when your food actually tastes incredible.
Have you tried this recipe, or do you have your own secret chicken marinade trick? Drop a comment below and share how you keep your meal prep exciting!
